Retrofitting Automation Lines: Replacing Cable on Machines That Cannot Stop
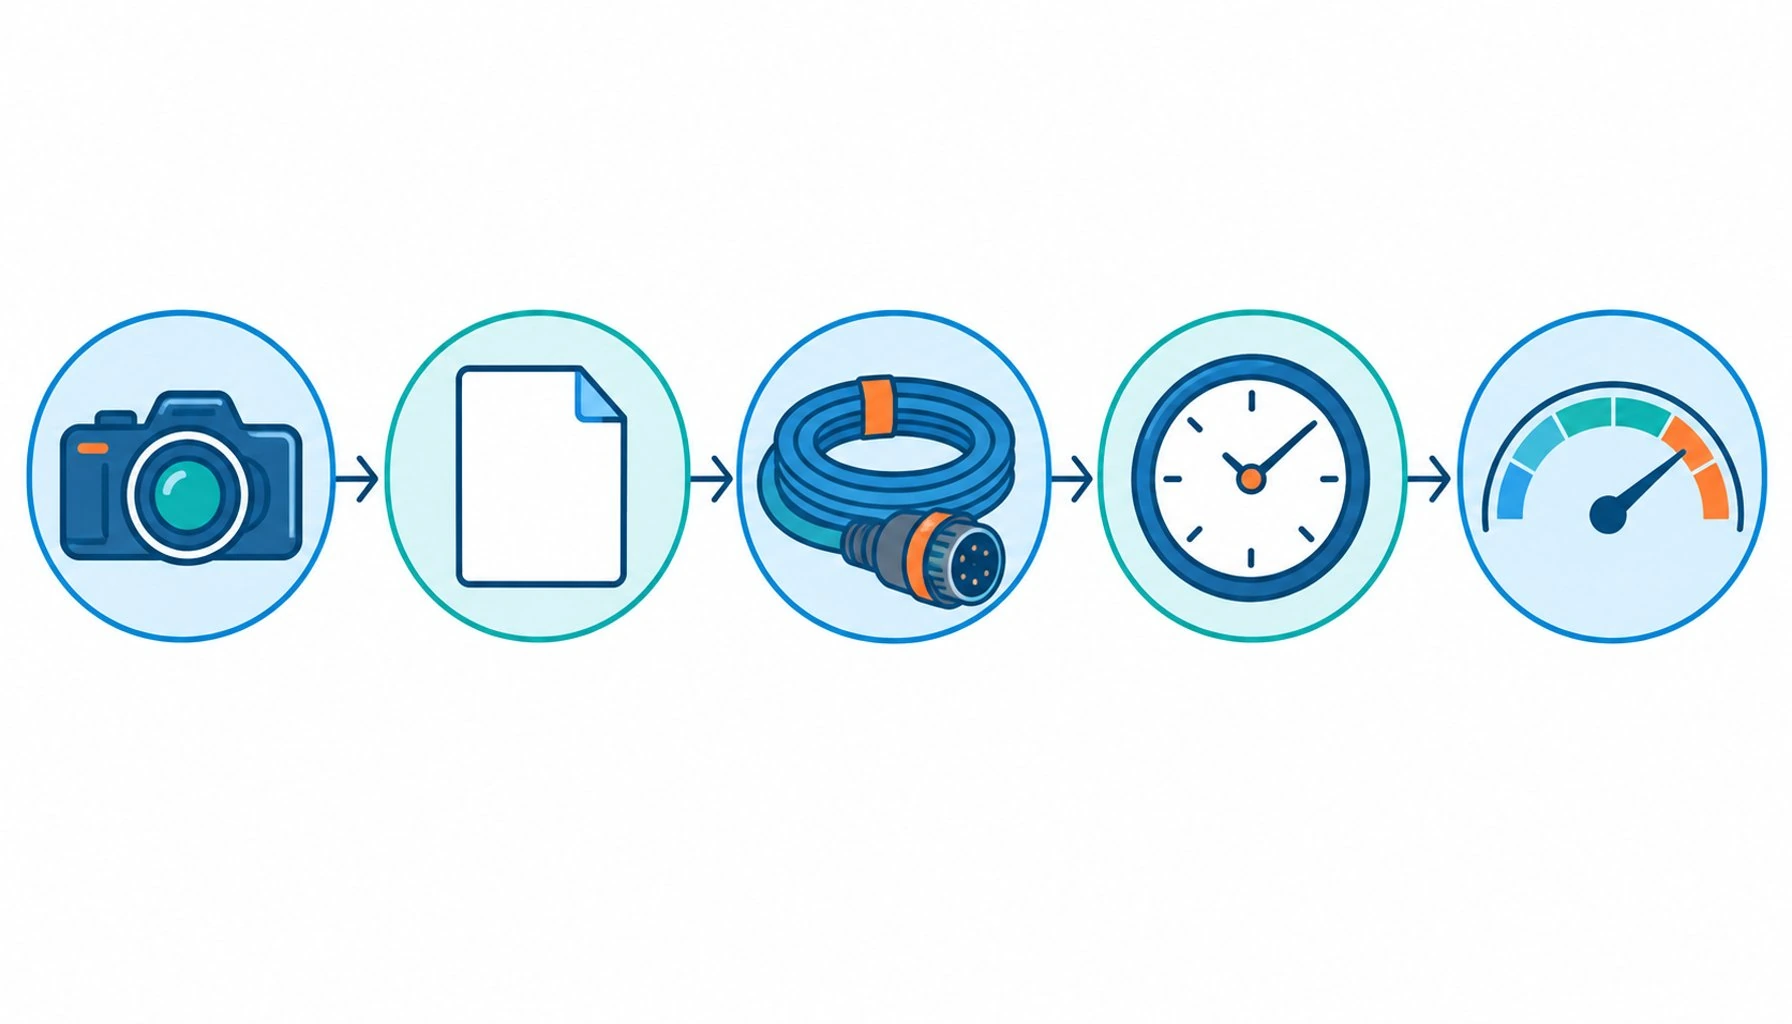
Quick Answer: Retrofit cable replacement succeeds when you measure the old installation honestly, match the new build to the existing geometry, and compress the swap into a planned window with everything pre-terminated.
Every plant that runs automation for long enough faces the same job: the cables on a machine that cannot stop are worn out, obsolete or failing, and the production schedule allows no meaningful downtime to fix them. Retrofitting cable on a live line is a different discipline from specifying cable for a new machine. The chain is already bought and its radius is fixed. The connectors may be discontinued. The drawing set may not match what is actually installed. And the window in which the work happens is measured in hours, with every hour of overrun paid at line-down rates. This guide is the playbook for that job. It covers what to measure before you order anything, how to match a replacement cable to geometry you did not choose, how to pre-stage the work so the shutdown window shrinks, and the mistakes that turn a weekend job into a week of improvisation. The principles apply to drag chain retrofits, robot dress pack replacements and gantry rewires alike, because the constraints are the same everywhere: existing geometry, existing terminations and no time.
Introduction
A retrofit starts with an uncomfortable fact: the original cable installation was designed as a system, and after years of service you are replacing one component of it while keeping all the others. The chain has aged, the dividers may be missing, the glands are whatever the last service crew installed, and the routing may have drifted from the drawing through years of repairs. Replacing the cable inside that system without auditing it means the new cable inherits every problem the old one died of. That is why the discipline below begins with measurement and autopsy rather than with a purchase order, and why the most valuable document in a retrofit is an honest record of how the old cable failed. The failure modes that bring a motion cable to retirement are predictable and are covered in the common causes of cable failure; the retrofit question is whether the replacement will meet the same causes in the same geometry, or whether the specification and the routing change first.
Measure Before You Order: The Audit Phase
The audit is where retrofits are won or lost, and it has a fixed list. Measure the actual chain, not the drawing: internal dimensions, bend radius at the tightest point, travel length, and the fill ratio as installed. Count and photograph the terminations at both ends, because connector availability is the most common schedule killer in a retrofit; a discontinued connector adds weeks that no cable lead time compensates. Record the cable as installed: outside diameter, jacket material if identifiable, conductor counts and sizes, shielding, and the markings printed on the jacket, which often name the original specification outright. Then autopsy the failure. A cable that died from conductor fatigue at a gland needs a different replacement than one that died from chemical swelling in a wash zone, even if both fit the same channel. Where the old routing clearly contributed to the failure, the audit should say so, because the fix may be a standoff clip or a divider rather than a better cable. None of this takes long if it is done with the machine running; everything on this list is observable without opening the chain, and the audit cost is a technician with a camera and a notebook for an afternoon.
Matching the Replacement to Geometry You Did Not Choose
The retrofit cable has to satisfy the existing chain, not an ideal one. Its outside diameter must suit the chain cavity and the existing strain relief, but within that constraint the build should be a class better than the original, not a copy of it. If the old cable failed in fatigue, the replacement earns its place through finer stranding and better flex data at the measured radius. If it failed chemically, the jacket compound changes; the compound families and their limits are compared in the supplier’s literature, and claims about them are read the way any equipment datasheet should be read, method attached or not trusted. If it failed by abrasion at a contact point, the routing hardware changes and the cable merely has to cooperate. Matching also means electrical compatibility: drives tuned to a certain cable capacitance may need retuning if the replacement differs materially, which is worth knowing before the window rather than during it. And it means the replacement is specified against the measured duty, with the honest reading of flex-life claims that separates tested data from catalog marketing. The audit hands you the duty; the specification step turns it into a part number, with the documentation-reading skills from the datasheet guide doing the translation; the difference between the two documents is where retrofit budgets quietly die.
| Item | How to Capture It | Why It Decides the Retrofit |
|---|---|---|
| Chain cavity and radius | Measure internal width, height and the tightest installed radius | Sets the OD ceiling and the minimum flex rating the replacement must meet |
| Travel and cycle duty | Travel length, axis speed, estimated cycles per shift from the PLC | Converts service life into a cycle requirement you can specify against |
| Terminations both ends | Photos, part numbers, availability check for each connector | Connector lead time, not cable lead time, usually sets the schedule |
| Old cable identity | Jacket markings, measured OD, conductor schedule, shield type | Baseline for matching and for spotting why the original spec fell short |
| Failure autopsy | Location, pattern and photos of the old cable's damage | Names the failure mode and the specification lever the replacement must pull |
| Routing condition | Divider state, contact points, fill ratio, gland condition | Decides whether hardware repairs ride along with the cable swap |
| Drive compatibility | Capacitance and impedance notes from the drive manual | Prevents a retuning surprise during the shutdown window |
Pre-Staging the Window: Work That Happens Before Shutdown
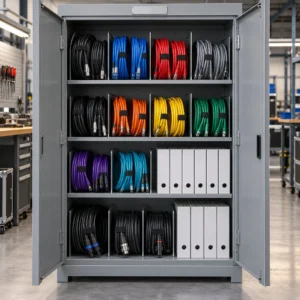
The best retrofits treat the shutdown window as pure installation, with every other task finished in advance. The replacement cable arrives pre-terminated to the recorded lengths where connectors allow it, labeled per circuit, and coiled in the order it will be unrolled. Consumables ride with it: dividers, standoffs, glands, heat shrink, labeling kit. The crew has the audit in hand, including the photos of every termination point, so nobody reverse-engineers the wiring at two in the morning. Old cable removal is planned too, because pulling a stiff, aged cable out of a loaded chain is often slower than installing the new one, and cutting it into sections may be the only practical method. The consumables kit should be assembled against the cable accessories checklist so nothing rides in the technician’s memory instead of the crate. A dry run on a similar machine, or at least a table-top walk-through with the crew, converts surprises into checklist items. And the acceptance test is written before the window: continuity, insulation resistance, shield continuity, a slow jog through full travel, then a supervised ramp to duty speed. Machines brought back on a hope rather than a test plan come back twice.
Common Retrofit Failures and How They Are Avoided
The same handful of mistakes account for most retrofit pain. Ordering by the old part number alone, without the audit, produces a replacement that fits the invoice but not the chain. Skipping the connector availability check produces a cable that arrives before its terminations and a window that slips. Copying the failed specification exactly produces a rerun of the same failure, on newer cable, at the same hour of the same shift. Filling the chain back to the old ratio, without reclaiming the space that better-built modern cable frees, leaves the retrofit carrying the overfill that helped kill the original. And treating the shutdown window as the first time anyone sees the machine produces improvisation, which is the most expensive material in maintenance. Every one of these is avoidable for the cost of the audit phase, which is why plants that retrofit well run the audit as a standard procedure rather than an inspiration. Where the audit reveals that the control side of the machine needs work anyway, the routing and separation habits described in custom control cabinet building apply to the machine-mounted enclosures just as they do to the main cabinet.
| Task | When It Happens | Notes |
|---|---|---|
| Audit and failure autopsy | Before, machine running | One technician, half a day, camera and notebook |
| Replacement specification and ordering | Before, after audit | Specified against measured duty, not the old part number |
| Connector sourcing and pre-termination | Before, at the supplier or in-house | Labeled per circuit, coiled in install order |
| Consumables and hardware kit | Before, staged with the cable | Dividers, standoffs, glands, labels, heat shrink |
| Old cable removal | Shutdown window | Cut into sections where pulling is impractical |
| New cable installation | Shutdown window | Follow install order, respect fill and radius rules |
| Acceptance test and ramp-up | Shutdown window, end | Written test plan, supervised ramp to duty speed |
When Retrofit Discipline Is Not the Answer
Honest scope: not every aging machine should be retrofitted, and cable is sometimes the symptom rather than the decision. If the audit reveals that the chain itself is worn past spec, that the machine’s control platform is obsolete, or that the cable failures are one symptom of a harness that was never engineered, the arithmetic may favor replacement over repair, and pretending otherwise just moves the cost two quarters out. Retrofit discipline also does not compress indefinitely; a line that truly cannot stop needs the staged approach described here, not a heroic overnight job, and where no window exists the answer is building redundancy or scheduling the window, not wishing. The playbook works because it moves risk into the cheap phase, the weeks when the machine runs; it cannot make risk disappear from a job done live.
RFQ Checklist: Ordering Replacement Cable for a Retrofit
Put the audit findings into the request so quotes are comparable:
- Measured chain cavity, installed radius and travel, from the audit rather than the drawing
- Cycle duty per shift and target service life for the replacement
- Termination schedule with connector part numbers and who pre-terminates
- Failure mode of the outgoing cable and the specification change it demands
- OD and weight constraints, including any fill-ratio recovery you want captured
- Drive compatibility data: capacitance, impedance, shield termination method
- Delivery as labeled, install-ordered coils with the consumables kit
Conclusion
Retrofitting cable on machines that cannot stop is a planning exercise wearing a maintenance costume. The audit converts an unknown installation into measured geometry and a named failure mode; the specification turns those findings into a better-built replacement; the pre-staging compresses the shutdown window until it holds nothing but installation and test. Plants that follow that sequence replace cables in hours and forget about them; plants that skip it meet the same failure twice and pay window rates for the privilege.
Kexingyu Cable Group (KXYE) supplies retrofit-grade motion cable with the tested flex, torsion and chemistry data the audit phase needs, pre-terminates to recorded lengths, and ships labeled in install order. Send your audit findings and termination schedule through the RFQ page, and we will quote the replacement as a planned job, not a parts order.