Cable Joint Kit Selection: Specifying Joints and Terminations That Last
Quick Answer: A cable joint kit is a small line on the order and the largest single risk on the route, because the joint is where the cable is opened and then reassembled by hand. Heat shrink, cold shrink and cast kits each suit a different cable, voltage and environment, and the buying job is to match the kit to both the cable and the place it will sit, then demand the evidence that the kit was tested for that combination.
Introduction
A cable is made in a controlled factory and jointed on site, in weather, by a person working to a procedure. Everything the factory controlled has to be re-created in that joint, and the kit is the material half of that job.
This guide is written for the buyer raising the requisition. It sets out what a joint has to do, the kit types and where each one fits, how the kit is matched to the cable and the environment, and what to freeze in the order. The full accessory list beyond the joint is in our cable accessories checklist, with the jointing and termination items in the companion accessory list.
What a Joint Actually Has to Do
Re-make the insulation. A joint has to restore the electric field around the conductor, not just cover it. That means stress control at the cut-back, where the field is concentrated, and it is the part of a joint that most often fails when a kit is chosen on price.
Exclude moisture for the life of the route. Water is the long-term enemy of a joint. It enters through a poor seal, travels along the conductor and produces the corrosion and treeing that eventually break the insulation down. The kit and the procedure together decide whether the joint stays dry.
Carry the mechanical duty. A joint in a buried or ducted route has to take pulling, soil movement and, on some routes, its own weight in a riser. The kit has to match the mechanical environment as well as the electrical one.
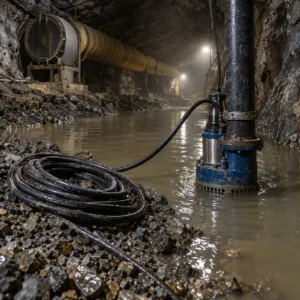
Survive the environment around it. A joint in a chemical plant, a farm, a duct that floods or a hot plant room faces the same threats as the cable sheath, and the kit’s outer protection has to answer them. Our note on cable sheath materials sets out how those materials differ.
Be inspectable or be sealed properly. On an accessible route the joint can be opened and inspected; on a buried or sealed route it cannot, and the quality of the seal becomes the only defence. Those two cases justify different kits and different levels of evidence.
Joint and Termination Kit Types and What Each Suits
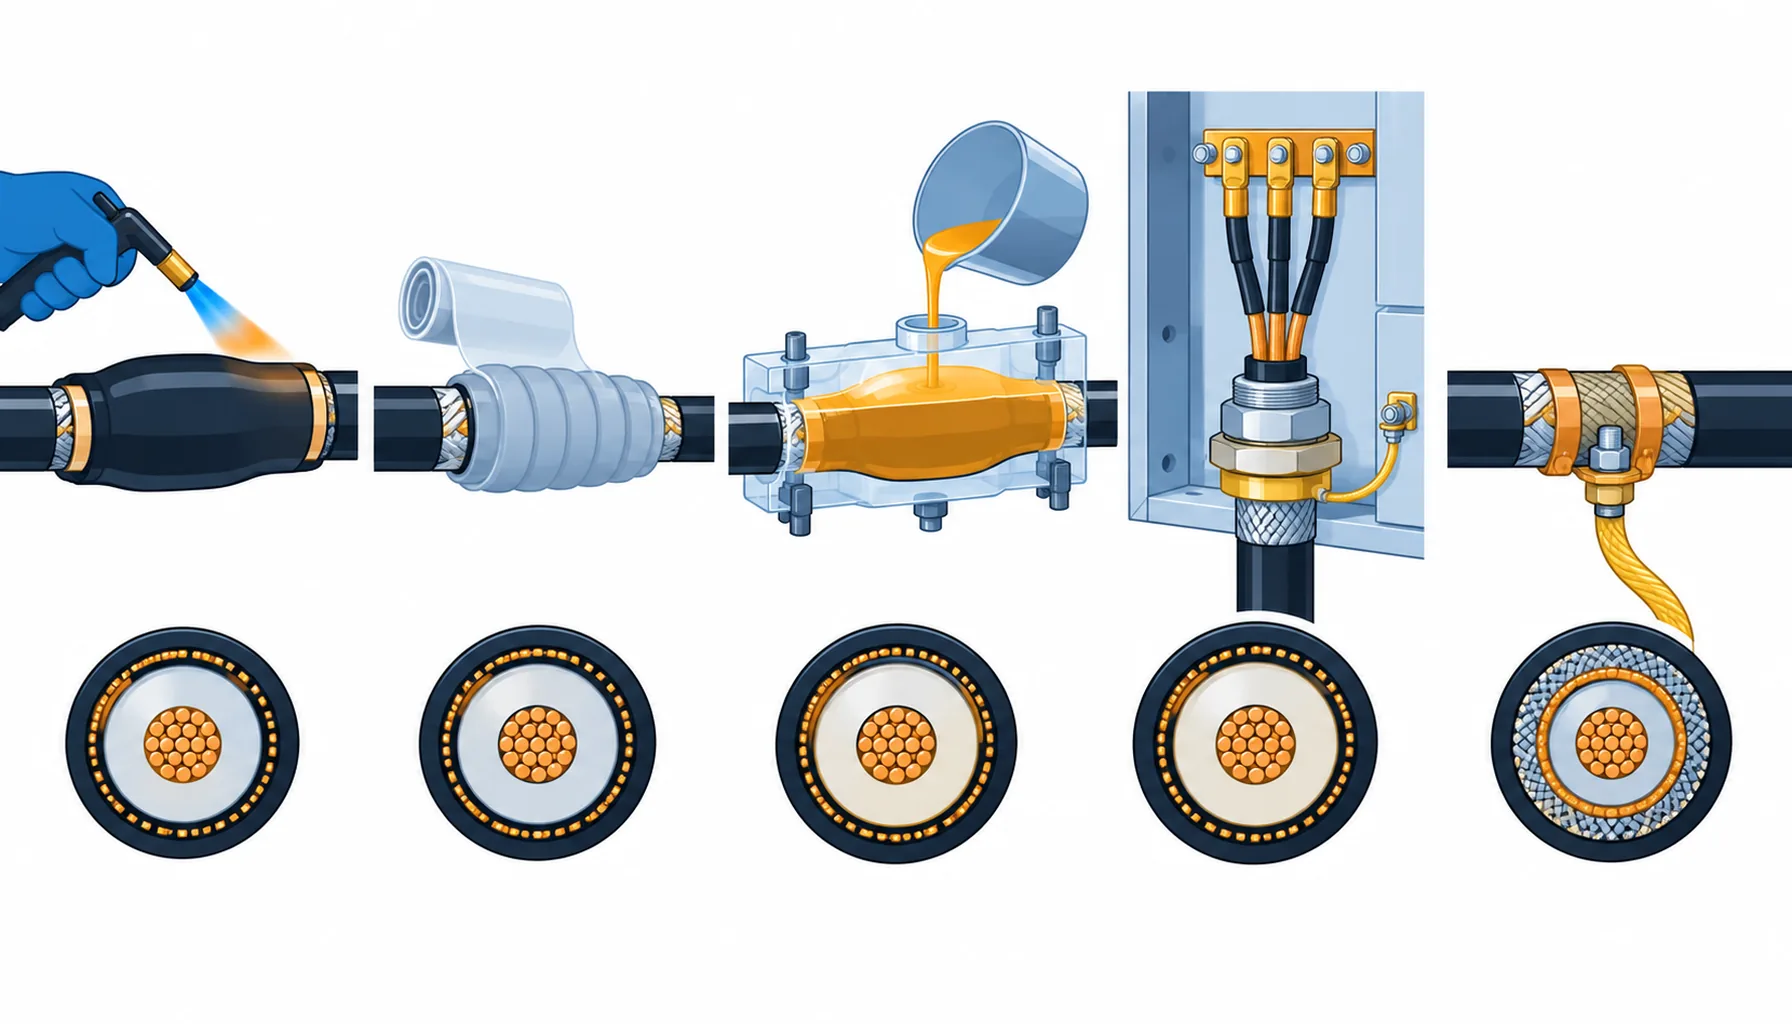
The table sets out the common kit types, where each fits, what to state in the order and how a joint fails when the kit was chosen for the wrong cable or place.
| Kit type | Where it fits | What to Specify | Evidence to Demand | Cost and Lead-Time Driver | How It Fails |
|---|---|---|---|---|---|
| Heat shrink | Most indoor and outdoor joints and terminations up to medium voltage | The voltage class, cable size range, the tubes and the stress control part | Type test to the voltage class, and a procedure matched to the cable | Widely stocked, quick to supply, and needs a skilled installer | A cold or rushed shrink that leaves a void and a field stress point |
| Cold shrink | Joints where a torch is not permitted or conditions are wet or confined | The cable size range, the pre-stretched core and the environment it suits | Type test and shelf-life data for the pre-stretched parts | Higher unit cost, no heat needed, faster on site | A kit stored past its shelf life that does not seal once released |
| Cast and resin | Buried and ducted joints and any route where the joint is sealed for good | The resin type, the mould, the cable size range and the cure schedule | Type test for the resin and the mould against the cable | Heavier, slower and needs a controlled environment to pour | A resin poured cold or wet that cures badly and traps moisture |
| Termination and gland | Cable ends at equipment, cabinets, motors and switchgear | The gland type, entry thread, sealing class and the conductor connection | Gland and termination type test for the enclosure and environment | Glands and terminations are cheap parts with a large labour share | A gland that does not seal the enclosure, or a connection that relaxes and heats |
| Screen and earth accessories | Any screened or armoured cable where the screen and armour must be landed | The earth connection method, the armour clamp and the screen continuity part | Continuity and earth-fault test results after installation | Small parts that decide whether the screen works as designed | An armoured cable whose armour is not bonded and carries a fault current |
Matching the Kit to the Cable and the Environment
Voltage class first. A kit is rated for a voltage class and a cable size range, and both have to contain the cable it will joint. A kit at the top of its size range on a cable at the bottom of the range, or the reverse, is a joint waiting to be redone.
Then the cable construction. Screened, armoured and plain cables need different kits, because the screen and the armour have to be landed and bonded. Buying a plain kit for a screened cable is one of the quiet errors that only shows up at the earth-fault test.
Then the environment. A joint in a duct that floods, a plant room reached by chemicals, or a buried route in wet ground needs a kit chosen for that exposure rather than a general-purpose one. The outer protection of the kit has to survive what the cable sheath survives.
Then the installer and the procedure. A kit is only as good as the procedure that goes with it, and the procedure has to match the cable the factory actually supplied. Ask for the jointing instruction for the specific cable construction, not a generic sheet, and confirm the installer has been trained on that kit. The gap between a good kit and a good joint is entirely in the hands of whoever makes it.
Then the accessories around it. The joint sits inside a bay, a box or a chamber, and the cleats, the earth connections and the fire stopping travel with it. Buying them on the same order as the cable and the kit is what keeps the delivery coherent, and the details are covered in our note on the insulation resistance testing that follows a joint on every route.
What to Freeze Before the Order Goes Out
Six clauses decide whether the joints on site match the cable and the route.
| Decision | What to State | Evidence to Attach | Cost of Leaving It Open |
|---|---|---|---|
| Voltage and size range | The voltage class and cable size range each kit has to cover | The kit type test and the size range it was tested over | A kit that does not fit the cable on site, found at the joint bay |
| Cable construction | Screened, armoured or plain, and how the screen and armour are landed | A jointing instruction written for the cable supplied | A screen or armour left unbonded, caught at the earth-fault test |
| Environment | Buried, ducted, wet, chemical or hot, and the kit that suits each | Environment or immersion data for the kit and its outer protection | A joint that floods and fails within the first year |
| Procedure and training | The jointing procedure to be used and the training of the installer | The procedure for the exact cable, and training records | A joint made to the wrong procedure, with no way to prove otherwise |
| Test regime | The electrical tests at each joint, with the acceptance figures | A test plan with results recorded per joint | A joint accepted without a test, discovered only when it fails |
| Spares and shelf life | The number of spare kits, and the shelf life of any pre-stretched parts | Batch dates and shelf-life data for the kits supplied | A spare kit that has expired when the joint is finally needed |
Installation, Testing and What to Record
The test after the joint is the proof. Every joint is followed by an electrical test, and the figures belong in the handover rather than in the installer’s notebook. On medium-voltage work the termination test is its own discipline, which is covered in our note on medium-voltage cable termination testing.
Record the conditions, not just the result. The ambient, the weather and the batch numbers of the kit belong with the test result, because a joint that passes at handover can still fail later if it was made in the wrong conditions. Those records are what makes a later fault traceable to a cause rather than a suspicion.
Then keep testing as the route ages. A joint that drifts over time shows up in routine testing earlier than it shows up as a fault, and the practice is set out in our note on in-service cable testing. That routine is what turns a joint from a hidden risk into a managed one.
Match the kit to the cable on the certificate. Where the cable carries a test certificate, the joint and the cable should be identifiable together, so a query about either one can be answered without pulling the route apart.
Accessories and What They Cost
The joint kit is a small part of the total cost of a joint, and the labour, the access and the outage dominate. That is why the right kit is nearly always cheaper than a repeat visit, even when it costs more per unit. Our cable factory testing note sets out the evidence that travels with a cable from the factory, which the joint materials then have to match.
Stock kits are the common heat shrink and cold shrink types, available quickly and cheaply, and they cover the bulk of joints and terminations. Cast and specialist kits cost more and take longer, but they seal a joint that will not be seen again. Custom terminations for a particular piece of equipment run on the longest line and should be identified at the design stage.
Incoming Inspection and What to Record
Check the kit against the cable. Confirm the voltage class and size range on every kit against the cable it will joint, and confirm screened and armoured kits were supplied where the cable needs them.
Check the batch and the shelf life. Read the batch dates on pre-stretched and resin parts, and reject anything near or past its shelf life, because a failed kit discovered at the joint bay delays the whole route.
Check the completeness. Count the contents against the kit list, because a missing stress control part is easy to discover too late and impossible to improvise on a joint.
Record the as-built joints. Keep a joint register with locations, kit batch numbers, the installer and the test results. That register is the map of every risk point on the route, and it is what a future fault is investigated against.
When a Joint Kit Is Not the Answer
When a joint can be avoided. The cheapest and most reliable joint is the one that is not there. Where a longer drum or a different route removes a joint, that usually beats any improvement in the kit, which is the trade set out in our note on drum length.
When the cable is wrong for the route. If joints keep failing on a route, the problem is often the cable or the environment rather than the kit. Adding a better kit to a cable that is being damaged will only move the failure point.
When the voltage class is being stretched. A kit used at the top of its class, on a cable at the edge of its range, gains nothing from a lower price and loses the margin that protects the field. Buy the class the cable is designed for.
When the installer is not trained on the kit. A premium kit made to a generic procedure is worse than a standard kit made properly. Where the installer’s training is uncertain, the cheaper move is the training, not a more expensive kit.
RFQ Checklist
- Voltage class and cable size range for every joint and termination
- Cable construction: screened, armoured or plain, and how each layer is landed
- Kit type preferred: heat shrink, cold shrink or cast, with the reason
- Environment at each joint: buried, ducted, wet, chemical or hot
- The jointing procedure for the exact cable supplied, and installer training
- Electrical tests at each joint, with the acceptance figures
- Glands, entry threads and sealing class at every piece of equipment
- Screen and armour bonding accessories, and the continuity test
- Spare kits, batch dates and shelf life for pre-stretched and resin parts
- A joint register to be maintained with locations, batches and test results
Conclusion
The joint kit is the smallest line on the cable order and the point where most of the risk sits, because it is the one place the cable is remade by hand. Match the kit to the voltage class, the cable construction and the environment, insist on the procedure for the cable actually supplied, and test and record every joint. A better kit never rescues a joint made to the wrong procedure, and the cheapest joint is always the one the route did not need.
Kexingyu Cable Group (KXYE) has manufactured cable in Quanzhou since 1996 and supplies jointing and termination accessories alongside its cable ranges, with procedures written for the construction being delivered and test data that travels with the drums. Send us your cable schedule and the environment at each joint, and we will come back with the kits, the accessories and the test plan that fit the route. A request for quotation is the fastest route.